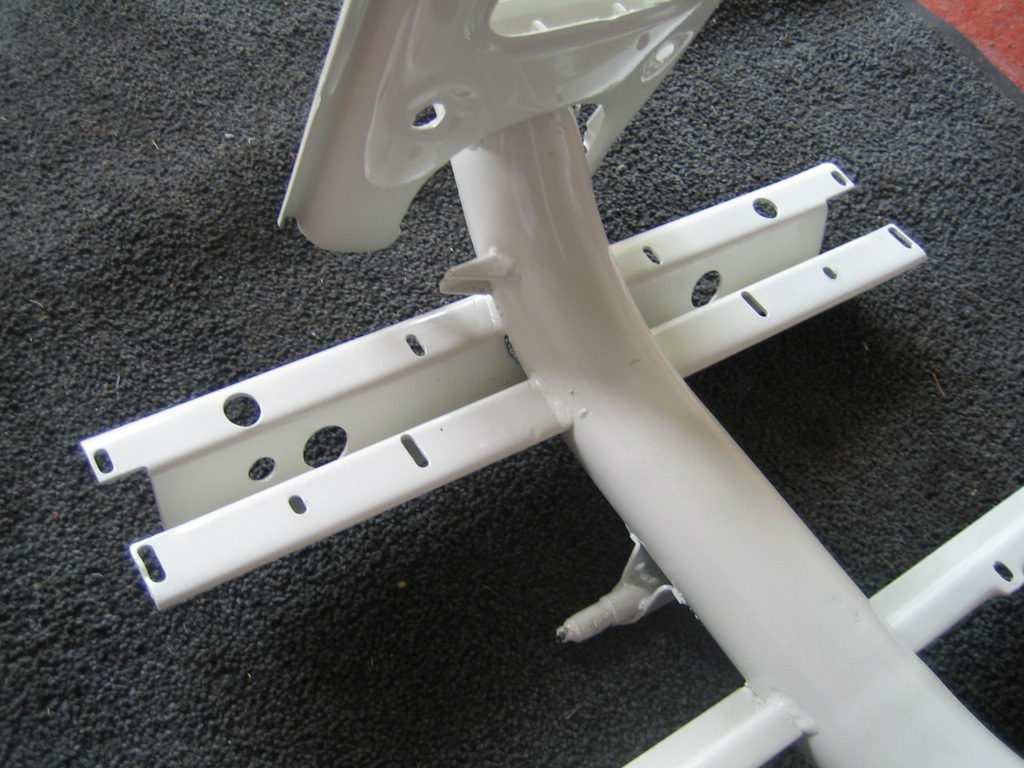
The stand and splash plate will be attached to the main strut seen here. In order to attach the stand, it is easier if you lay down some soft, clean cloth and turn the frame upside down.
First, apply a little grease to the upper surface of the strut that the
stand will rest on (this will be facing downward when the frame is the
correct way up). The grease will help the stand to be put down and
raised when not in use. Place the stand roughly in position and offer up
the splash plate. Look through the holes in the splash plate brackets
and line them up with the holes in the frame.
Fasten up the splash plate using 2 x 30mm bolts which have 13mm heads. You will also require 4 x flat washers. Push a bolt and washer through the splash plate bracket toward the rear of the frame on each side.

With both bolts through, place a washer and 13mm nut on the inside of the frame strut as shown below. These can be tightened through the large access hole. You will also see that I have fitted a non factory standard strengthening block. This is a modern addition to prevent the problem of the stand bolt applying pressure to the frame strut when the stand is in use and you are sitting on the machine. In the worst cases, the stand bolt can actually pull through. This adaptation prevents that and makes the stand far more stable. You can also see this in place in the image below.

Now tighten the two stand bolts. They need to be very tight.

The stand return spring is fitted to a lug on the actual stand AND a lug on the frame itself. You should notice that the spring is 'sided'. This means that one of the end hooks leaves the spring on one side only. This hook is the one which fits to the frame lug with the level side toward the scooter. This is designed to prevent the stand spring fouling on the frame as the stand is raised or lowered.

When in position, it should hand like this, clear of the frame.

Now take the frame OFF the stand so it is in the raised position. This makes the distance between the two lugs for the spring shorter. Using a spring puller, pull the spring backward toward the rear of the scooter and lift until it rests on the lug. Remove the puller and give the spring a gentle tap with a small hammer. It will just pop in to place.

You can now raise the stand. It is a good idea to use white grease spray along the joint of the stand and frame as well as the splash plate.

Your stand feet should come fitted with a metal washer inside them to prevent the legs of the stand going too far in to the rubber feet. You may need to tap the feet home with a rubber mallet. The job can be made easier if you drop them both in to boiled water for a couple of minutes. Look in to the lug on the rubber feet and line them up with a hole in the stand leg. Using a roll pin available from your dealer, tap it in to the hole in the rubber and through in to the stand. Here, we have used a bolt, which make the feet much more secure and ground off the head.
The stand is fitted.

No comments:
Post a Comment
Please keep it friendly.