This is a long job which cannot be rushed, so set plenty of time aside for this one.
First thing to do is check all the cables are routed correctly, move the
handlebars from side to side to make sure the gear and throttle cables
do not pull from the clamp recess as it rotates left and right. Also,
make SURE, especially if you have a brand new set of legshields, that
the turned over lip at the rear, where the bridge piece fits has been
turned under and facing forward, not pointing downward as is usual when
they arrive. If the lip points down, it WILL cut through your cables.
This is a job best done prior to painting but it is possible to bend it
out of the way even when painted as it will not be seen again if you are
careful.
Check the cable positions at the engine side. Notice that the cables go OVER the wiring.

Check the cable positions at the engine side. Notice that the cables go OVER the wiring.

Check along the frame that there is no kink in the cables likely to cause a foul.

And that they all run smooth up the frame steering tube.


First, offer the legshields up to the frame like this. Inserting the back edge first.

Then, roll them forward and down toward the fork tube.

Do this until they are below the chrome ring.

Now push the cables behind the bracket midway down the front of the legshields. You'll need to do both sides of the bracket so that all the cables and the wiring loom are behind it.

Like this. Make sure the cables are still in the correct order.
Now line up the two holes in the bracket...

...and hold them in place with a couple of nuts. Note that the ones I have used in the photo are NOT the correct nuts. These are simply to hold the legshields roughly in place and are only finger tight. When completed, these will be replaced with 10mm long, 10mm headed hex bolts. They go in to captive nuts in the rear of the bracket of the legshields.

Whilst access is still relatively easy, add the rubber gaiter to the rear brake inner cable. It goes in this direction...

...and is slipped over the cable, like so.

And pushed on to the rear of the top hat outer cable stop mounted in the bracket on the frame, like this:

Now attach the outer plastic floor strips to hold the legshields down to the frame struts. Start either side. I'm on the left here.
Use a rubber anti-vibration washer on top of the strut, under the legshields and line up all the holes through all three parts. Note this rubber has an angle cutaway to allow for the beading end cap later.

Place another washer close to where shown under the legshields on top of the rear strut.

Now, add the correct side edge plastic strip. Push the captive bolt, either end of the strip through the legshields, rubber washers and struts.

Notice that the rear end on the left side strip has a long tab at the rear...

...and a short tab at the front. Fasten the strip down using 7mm nuts and beveled washers.
Do both sides but only tighten the nuts finger tight.

Now add your alloy channels for the floor rubber strips.
There are a long and short one for each side. The shorter one goes on the outside in each case. Start with the outer channel.

From the rear, push a 10mm round head bolt through the second hole and finger tighten a 7mm nut and flat washer underneath.

Now do the same in the next hole up, indicated by the end of the screwdriver in the pic below.
This requires a 12mm long nut as it has to pass through the frame strut too. Make sure you put a rubber washer between frame strut and legshields.

as shown in the pic below.

Now, repeat this on the inner channel.

With all your bolts only finger tight, you should be able to push the channels in to position either way to make sure the holes at each end line up with the holes in the legshields. Here, you can see they do line up at the top...

...and at the bottom.

In the image below, you can see, at the point at the end of my screwdriver, we have drilled a hole to use an extra bolt through the channel and in to the fixing for the front mudguard. At the factory, they attached the mudguard with this screw BUT it was UNDER the alloy runner channel. To keep it original, you should do this. In our case, we thought it was better to have the channels attached better by using this point also. When you buy new channels from your supplier, this position hole with be missing, now you know why.

Next thing, is to use round rubber washers under the two holes under the legshields on top of the struts again.

Like so. Make sure you can see right through the channel, rubber and strut so you know everything lines up.

Soak your channel rubbers in boiling water for a few minutes.

Squeeze the rubber in to the channel right up to the hole in the end of the channel. As shown. Feed about 2 or 3 inches in to the channel.

Now place on an end cap.

Push through the bevel head, coutersunk 15mm bolt and tighten the 8mm nut and bevel washer underneath. This is the OUTER channel. Now feed in the entire length of the rubber floor strip.

On the other end of the outer floor runner, you will need THIS barrel nut.


Fit an end cap (NOTE: This is the ONLY end cap with no barrel in the casting where the nut passes through, look for the pair of them in your set and put them aside for this part of the build) to the front edge of the channel strip and push through the correct bolt and tighten in to the barrel nut, which fits on the outside.

Like this. Which gives a nice, smart finish.

Do both side outer strips like this.

We cannot continue to add the strips now without also adding the front mudguard as some fixings are multi purpose.
You will need the front mudguard and the rubber gasket/beading set.


Offer up the mudguard...

...and using two countersunk washers (these ones are a new version, which is solid to prevent the sharp edge of the normal pressed version from digging in to your paintwork)


Push a 15mm countersunk bolt through the washer on the inside of the legshields, through the top hole of the rubber gasket and the upper hole of the mudguard and finger tighten.
Jiggle the gasket/beading until it is as close to final position as you can get it.
Add the inner channel end caps, which also fix the mudguard and finger tighten all of them, including the bolt which you saw we added the hole for earlier.
You can now manipulate the beading in to final position by pushing or pulling on the gasket side until it is fitting correctly. If it won't move, slacken the bolts of a little until it fits well.

When you are happy with the position of the gasket, tighten everything under the mudguard.
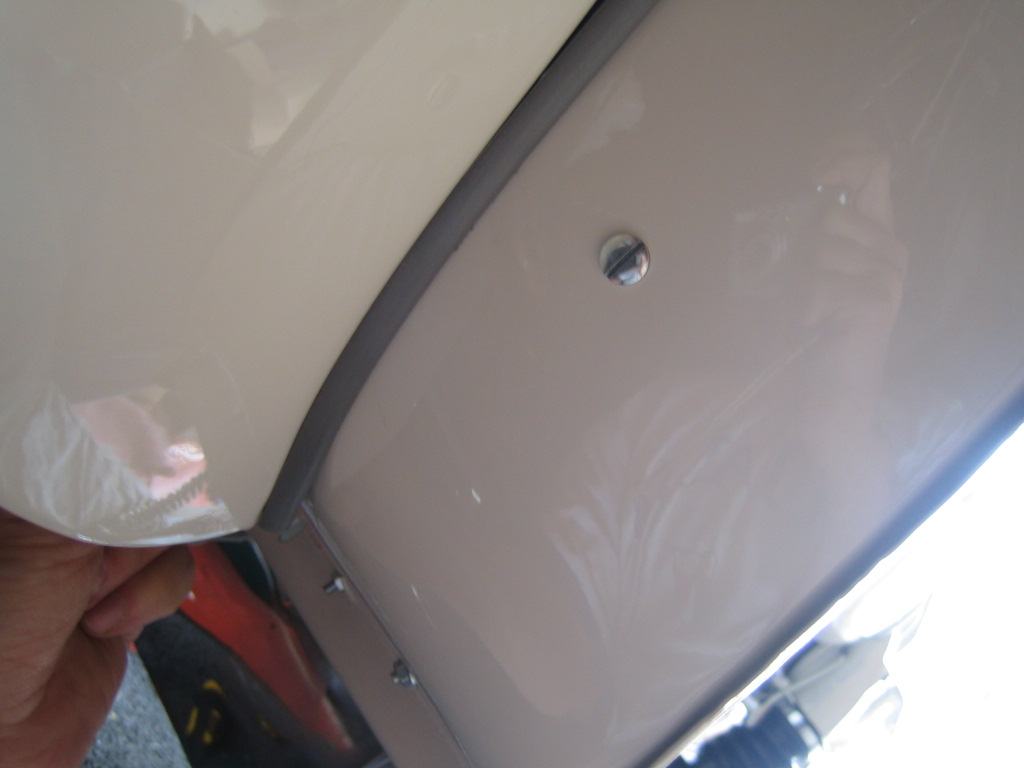
The inside of the legshields now looks like this:

And the rubber beading is a perfect fit too.

Even under close inspection.

Our brand new mudguard now looks like this. Fitted nicely.

Now you require two anti-rattle spring clips.

These are pushed on to the peg in the centre of the outer plastic legshield floor runners.
Do not put rubber washers under these unless you wish to protect paintwork. At the factory, they were fitted without any washer and were meant to bit in to the metal and prevent the plastic strip from vibrating.
Once in position, press on with a pair of pliers or a socket, whilst pushing down on the strip from above. It needs to be on nice and tight.

Now get the legshield beading end caps ready.

S
oak the rubber in boiling water for a few minutes.

Starting from the top, fit the rubber trim close to the hole at the top of the legshields and add a few inches. Then, add the upper end cap to grip the rubber trim. The bolt head goes on the INSIDE, facing the rider.

Now work the beading on to the lip of the legshields and work downward.

Until you reach the bottom, where you add the lower end cap, which also covers the small lip on the plastic runner, like so:

Now add the strip to the other side exactly as previous.

Now, with the end caps in place, you can go around the legshields and tighten everything fully. If you have OCD, like me, you can line up the slots in the bolt heads to match the grooves in the rubber trim. Not essential or factory standard, but it looks nice!

The lower end cap can be tricky. Spend time getting it right by possibly trimming or filing the rubber beading or even filing the cap a little for a perfect fit. Keep trying it until it is sat correctly like this before finally tightening it up for good.

Close all the gaps on the end caps like this and your done.
