Saturday, August 29, 2020

Disc Brake colour and gloss coat


Time for the colour. Again, I'm using Lambretta Paints Lechler Code 8081 Wheel Paint Silver. I'm not sponsored by this company, but I have to say I'm impressed by the quality of the products and the delivery is very, very fast. Prices aren't bad either. highly recommended.

Here's how it's looking after one coat. Really impressed by this. I'm nowhere near a decent painter and didn't expect it to look this good out of a can, but it's looking really nice now compared to how it was when I started. I'm going to apply 2 coats in total.


The paint dried off really quickly, so when it was ready, I flatted out a couple of more minor imperfections with wet and dry.

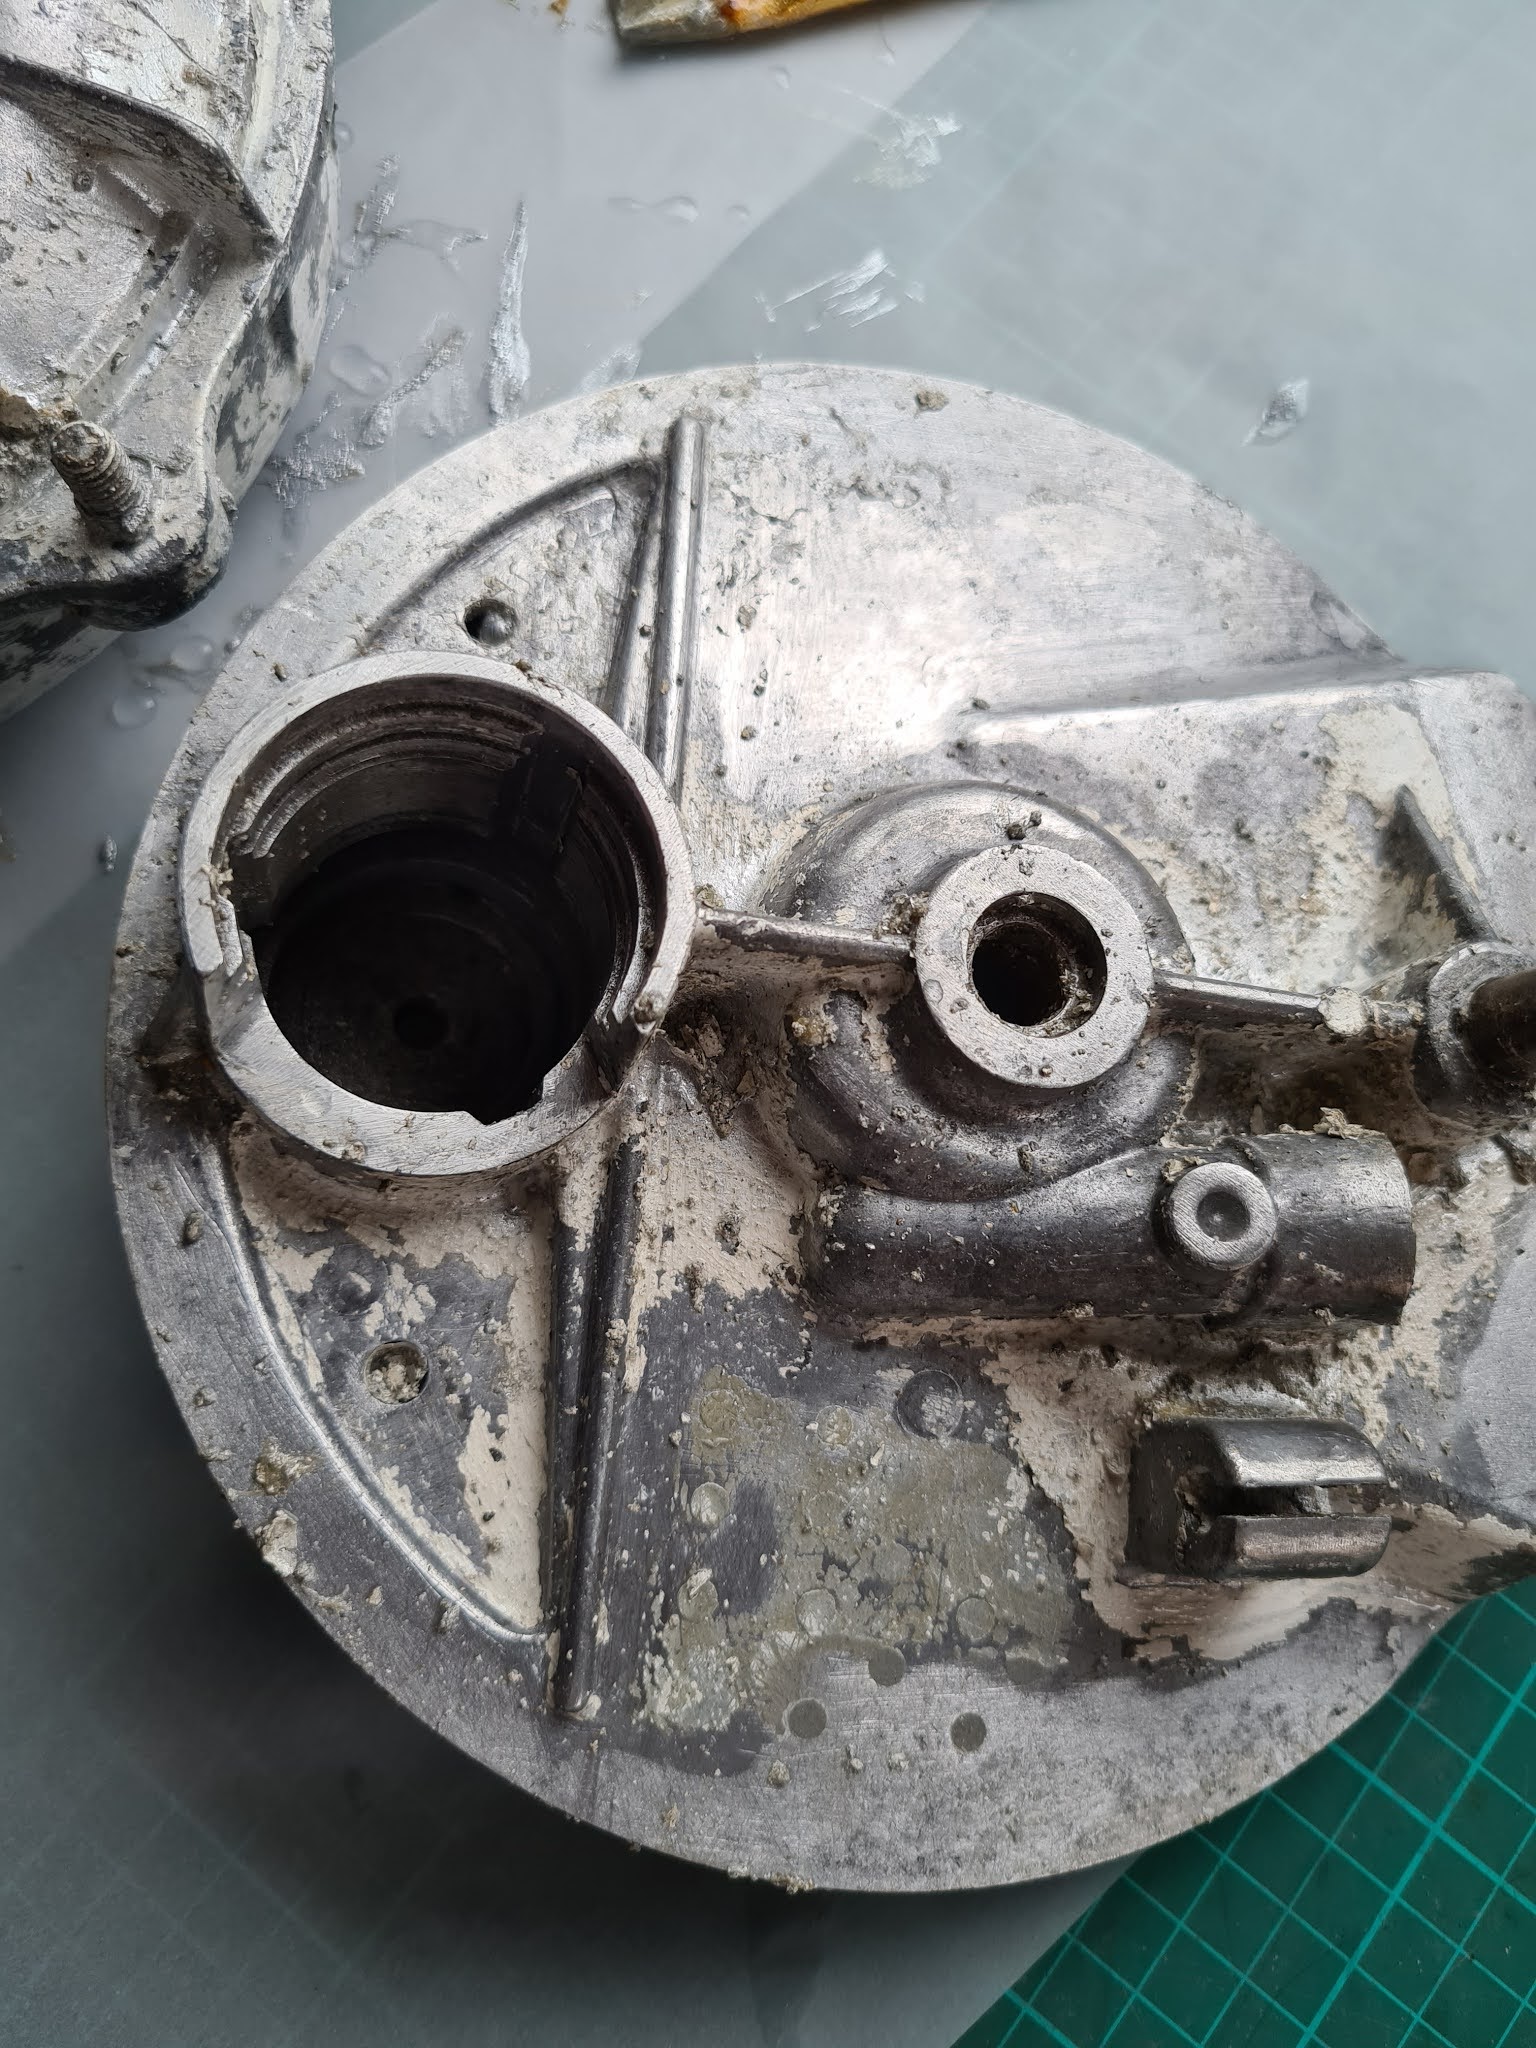
There are small dings on the hub, probably from my sloppy storage care over the years, but they are not really worth worrying about, so I'm leaving them.

Next is the gloss top coat. Here is the last part of the finish hopefully. I'm going to give it about 3 coats and each one takes around 15 minutes to dry. I'll give it a bit longer because the weather is still a little on the cold side.


Here's how it's looking after just one coat. When this one is bone dry, I will give it a final flatting before adding a couple of smooth coats. That should be enough and soon, I can start to re-assemble this Brake Disc.


Friday, August 28, 2020

Disc Brake flatting and priming 2

Back in the garage. Flatted out all the tiny bits in the paint that I could and gave it all a good clean and dry. Gave it another shot with the primer and the results are much better this time:

 
Happy with this.

Going to let it dry overnight before giving it one final flat and a couple of coats of colour. It's not very warm outside, so it might be worth giving it that extra time to really dry properly. I'm concerned if I get too keen to finish it, there will be a mess and starting all over again doesn't appeal.

Patience.

Disc Brake flatting and priming


 First job of the morning is to flat back some of the etch primer. I just used a bowl of water and some 400 grit wet and dry paper. When I was happy with the surface it was time for primer.

 
This is the primer, once again it is from Lambretta Paints Ltd.

 
It's a totally miserable day outside, so I did the best I could in the entrance to my garage. I'm really happy with this side of the hub (above), it's only got one or two flaws I can see that will easily disappear with another flatting with the wet and dry. But other than that, it looks great.

On the other side, a bit more work flatting will be required. I don't know whether I didn't clean it enough or if some dust blew on it, but there are a few spots that need attention to get it perfectly smooth. Hopefully, some of them will flatten out by themselves like the etching primer did when it dried. If not, it just means a bit more time sanding. Not to worry.

I'll leave it a good few hours to dry off now because of the weather.
 

Wednesday, August 26, 2020

Stripping the Disc. Prep for paint

This is the bit I'm looking forward to least. Lets get started getting rid of the original factory primer. I'm going to use this paint stripper, applied with a brush. It's pretty gloopy stuff so it has to be forced into all the tight areas and left to work for about 15 minutes.

You can see it working straight away. Hopefully, this is going to go well.


After waiting, I set about it with a small wire brush. It's hard to get in to some places and it's beginning to be obvious it hasn't penetrated all the old paint.


This is what it looked like after the SECOND coat and about one hour of scrubbing.


Finally, after coat 3 I'm getting somewhere. There are bits of detail I have to get out with wire wool but it has finally come off and is beginning to look alright.


A bath is hot soapy water cleans off most of the paint stripper and yet more rubbing with wire wool to get into all the little corners.


Now I am going to finally get the last few bits off by hand and clean the whole hub with alcohol.


I am running a bolt over the threads just to clean them up and a tap into the holes for the speedo and grease nipple. Then I can mask up the important areas.


I'm not going to paint the internal surfaces because they were never painted originally, but I do want to cover up the pins for the disc and all the channels for the bearings and seals etc. to protect them from overspray and save me cleaning it all off again later.


This is the etch primer I'm using just to get a protective coat quickly on the metal. I'm worried about leaving it overnight with no protection. All the primers and paints used on this are from Lambretta Paints Ltd.


And with that done, I will leave it overnight to dry. The intention is to flat it tomorrow and apply a coat of undercoat primer when ready. These pictures show the etch primer still wet. It is now drying and looks a lot smoother as well as being matt in finish.


I'm getting there.

Just a few things worth mentioning. When rubbing off the paint stripper with a wire brush, it flicks everywhere. Try not to let bits get in your eyes!!! Also, when it lands on your skin, it tends to feel a bit like a wasp stinging you with some nettles. I must remember to wear goggles and gloves next time.

Anyway. Hopefully more tomorrow.
 

Tuesday, August 25, 2020

Lambretta Front Campagnolo Disc Refurbishing


A long time ago, I acquired this original Lambretta front Disc Brake Hub along with almost all of the other components required to complete it. It has sat in my garage ever since and has never been used on a scooter.

Original Lambretta front Discs were supplied to Innocenti by Campagnolo and were marked with a 'C' logo cast on both halves of the hub along with the word 'Brevettato' (which literally translates as 'Patented) cast on the actuator side only, which can be seen in the image above. Lambretta was the first 2 wheeled vehicle ever to feature a Disc Brake when it was first fitted to the brand new TV (Turismo Veloce) models.

Hopefully, over the next few days, I am going to remove the original silvery white undercoat, clean, paint and fully service this Disc, before rebuilding it back to working condition. 

I have all the parts ready with the exception of the actuator mechanism, which is on order from Rimini.

I hope you find this mini series helpful and interesting.

Sunday, August 23, 2020

One restored Lambretta

 Well, just to keep everyone up to date with the story.

My father and I went in to the garage at 10am this morning to finalise a few bits and bobs on our restoration project. First job was to ensure we snagged her properly, so we went over the earth fixings and made sure they were correct. Then, we added our new rear seat catch, which I collected the previous day. Then, it was time to fire her up. She started on the second kick.

However, when running, we had no headlight or speedo light. This was fixed because I'd pushed the bullet connectors in the headset at the wrong sides of the main bulb connections and forgotten an earth to the headlight rim. With these issues addressed, everything worked perfectly.

I took the scooter for a short run in the freezing cold and she ran well, with all the brakes working perfectly as well as selecting gears properly.

This stunning Lambretta was complete. We spent the next few minutes giving her a final polish and congratulating ourselves. Once again, I'd like to thank my dad, who has turned up almost every week to help complete this restoration.

Here are a couple of pics of him on our finished Lambretta:


I will be calling Armandos Scooters in Sheffield, to arrange for them to collect the scooter next weekend, where it will be given a final check at the shop. She will also get her number plate and MOT Test Certificate.

Remember, that this scooter has been restored almost with money no object. Almost all of the parts are factory original and in many cases are vary rare indeed. The engine internals are brand new and all the nuts and bolts have been replaced with exact, or very good match for those that would have been put there by Innocenti. The scooter will come with a warranty to back up our assurance that this is a quality machine.

We are convinced that the new owner will enjoy many, many happy years of ownership. The purchasor will also be given the certificate of proof this is the restoration scooter as we will sign it off with them on collection.

This Lambretta is SOLD.


This is not the end of the restoration blog. Thank you for reading. I hope you enjoyed it as much as we did.

Paul Slack